Buying Local Produce - Is It Really That Important?

DBFBA40F-8987-4260-80A6-5142AFFAA71F.JPG
3B66F258-DC68-4995-9C33-2875EC948D77.JPG

If you follow me on social media, you’ve probably seen me singing the farmer’s market praises, or going off about how much I love my weekly farm box. Honestly, I didn’t used to feel this way. A couple years ago I was shopping at TJ’s for almost all of my food, including my produce (I still love Trader Joe’s, and they provide a lot of great food and great jobs!). It was close to home, cheap, quite a few organic options, and convenient. What more could I want?

 
buy local produce
 

Well, let me paint a picture for you. Let’s say you pick up a few apples at a grocery store in the middle of Spring. Those apples were probably picked before they were fully ripe, have been sitting in some sort of cooler for 6 months, were taken out of the cooler a week before you saw them, traveled over 1,000 miles in a truck, and are now sitting in front of you in the grocery store. You really have no way of knowing where your apples were grown, when they were picked, how fresh they are, and how they got to be right in front of you. This applies to more than just apples.

 
rainbow toast
 

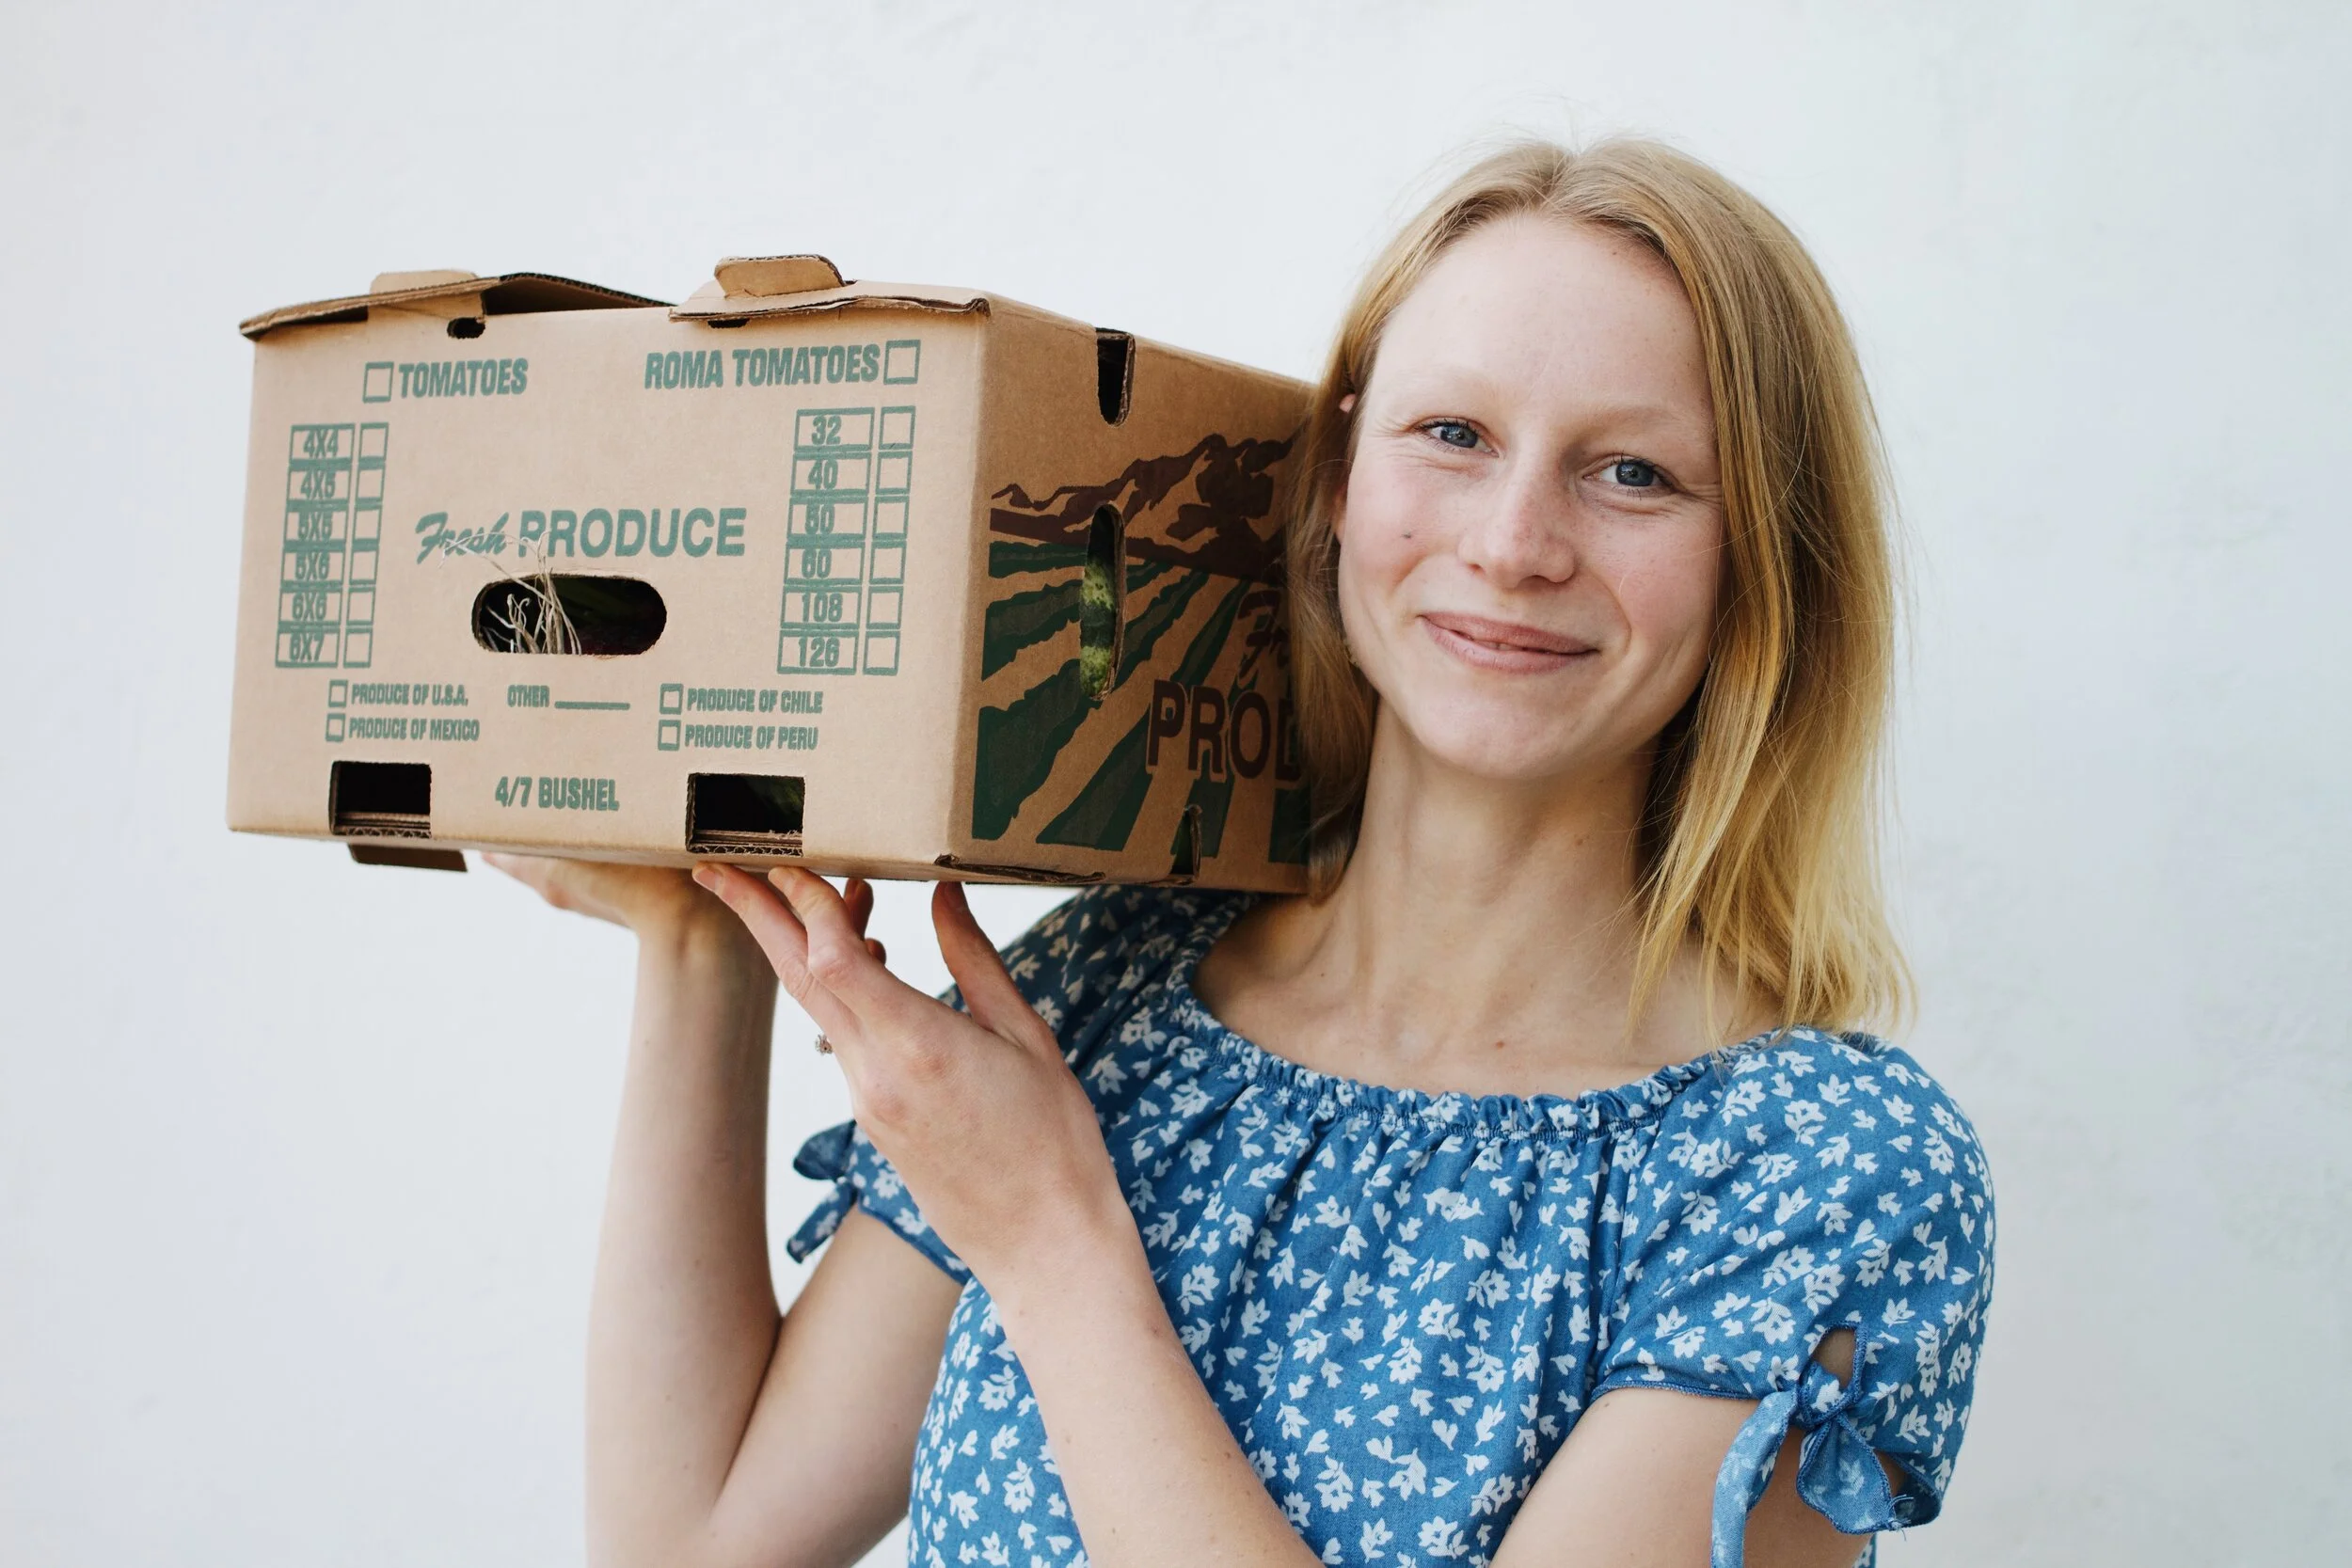
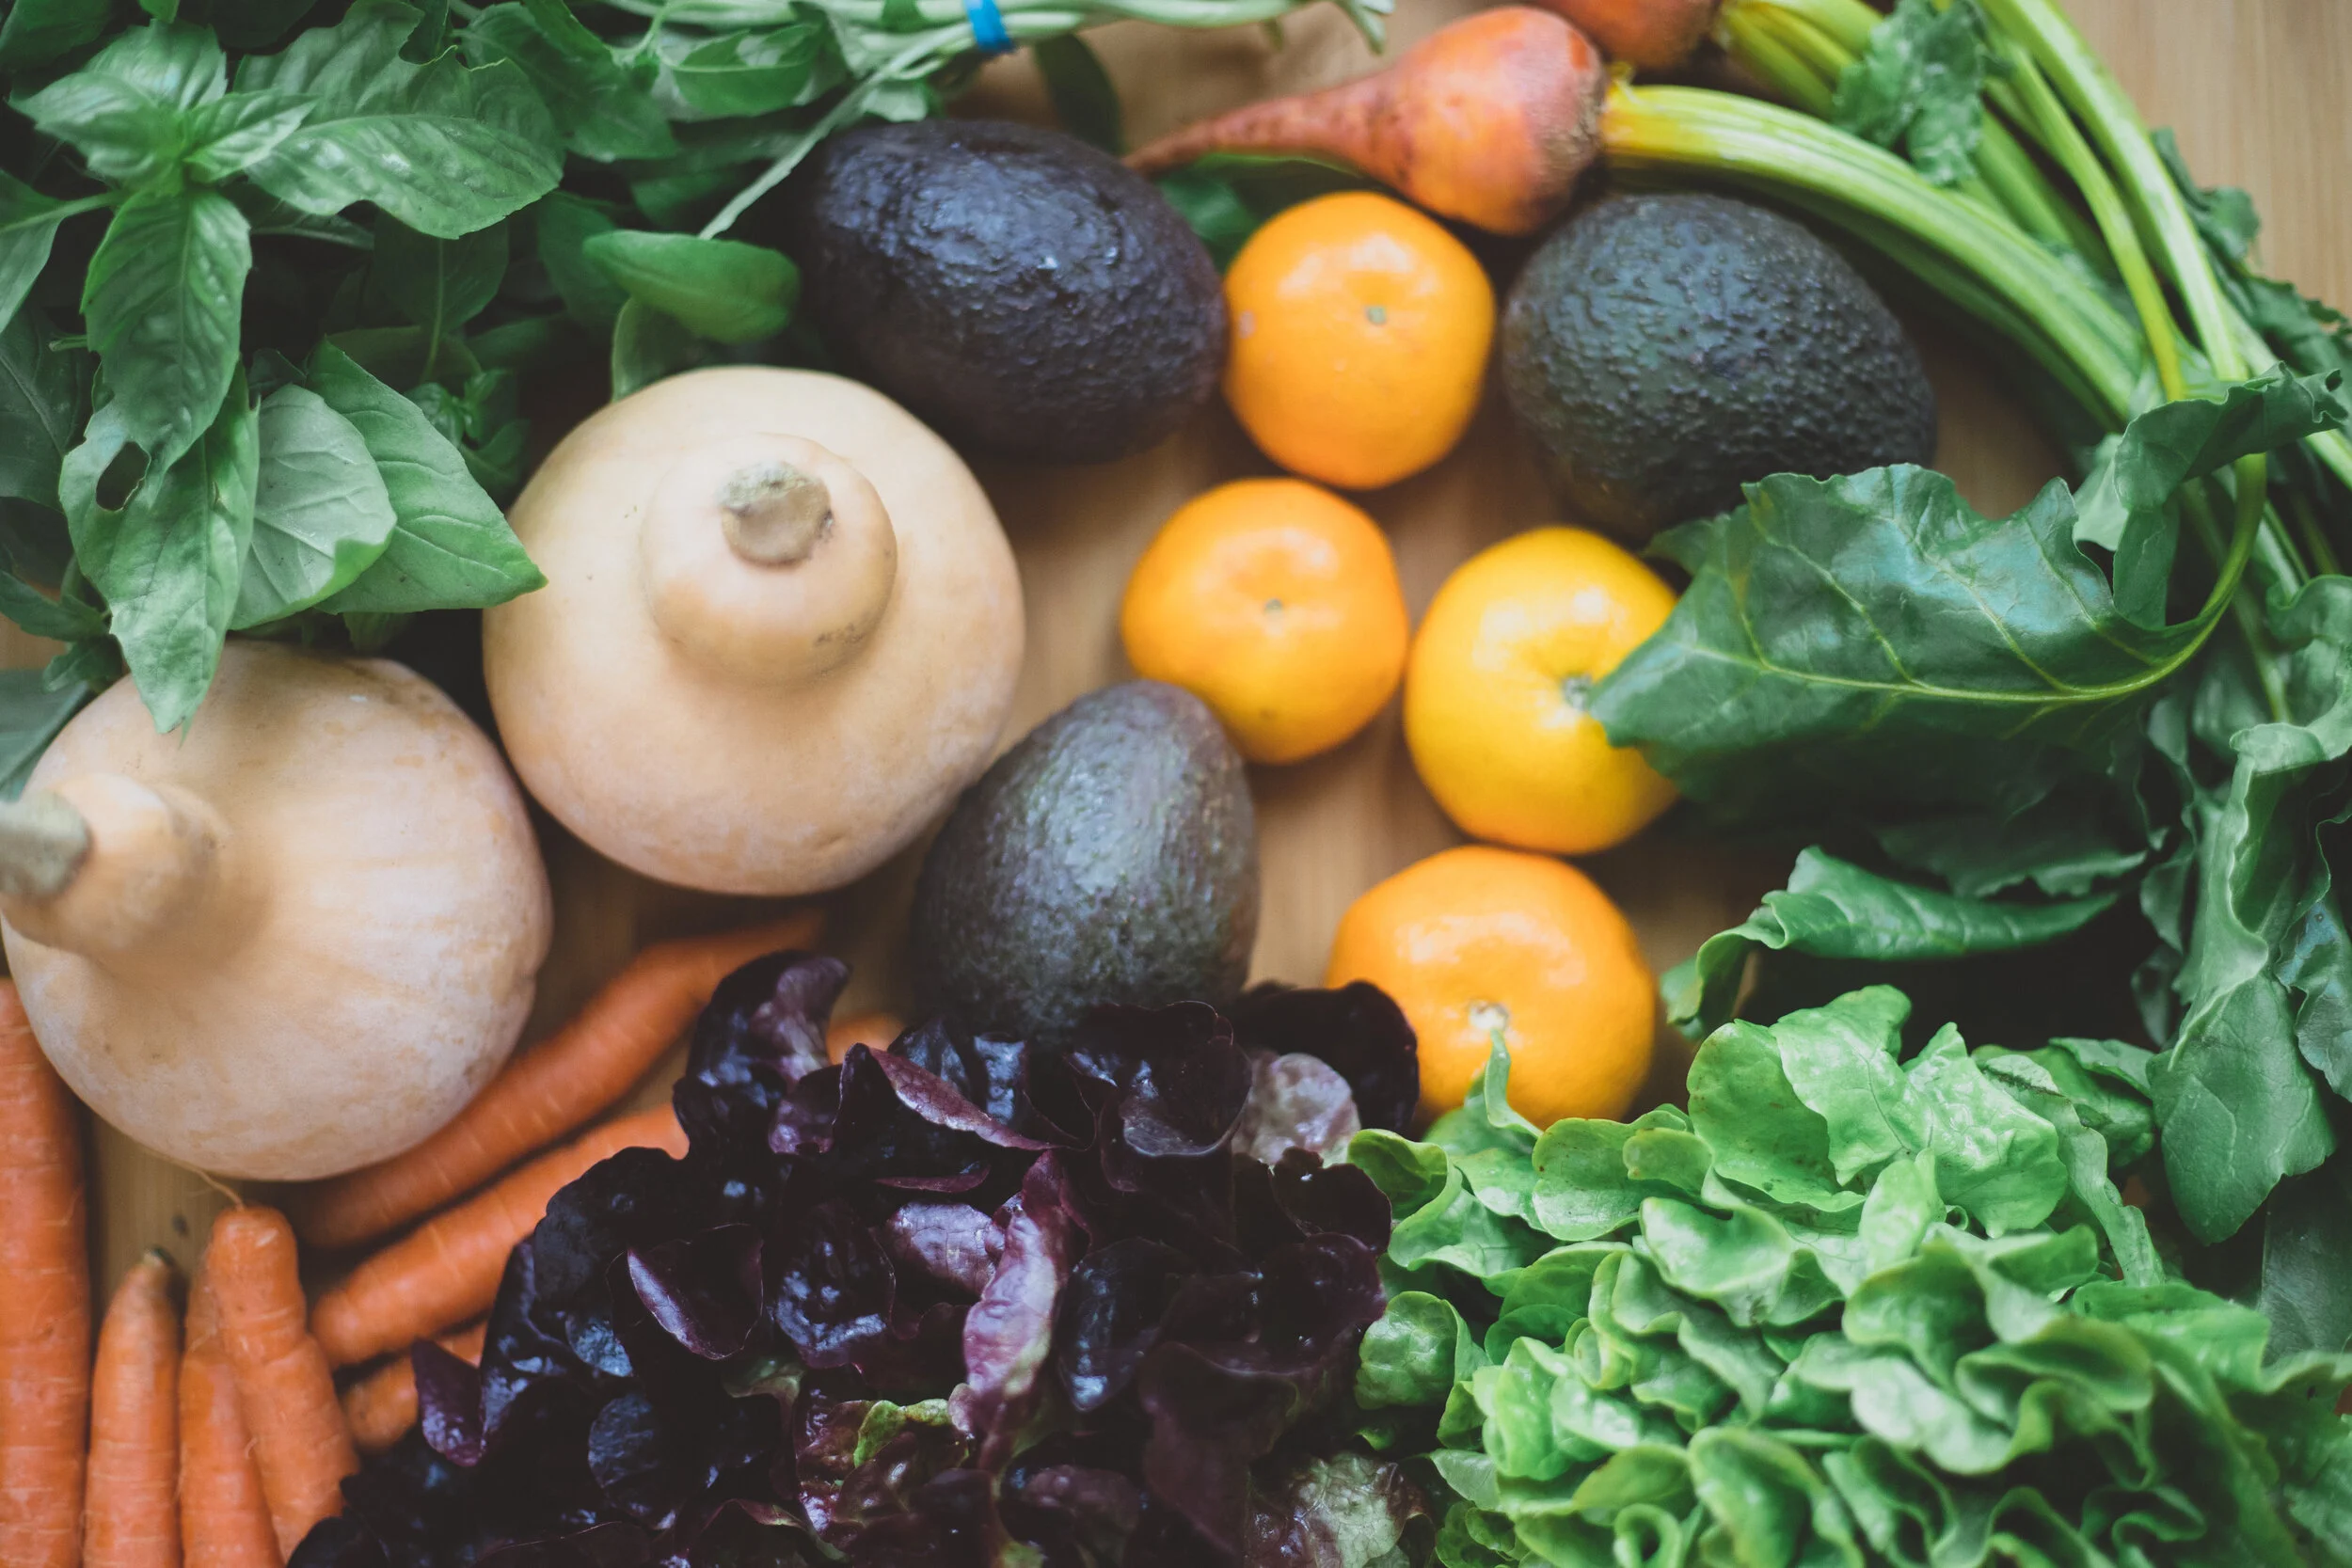
Let me paint another picture. You’re driving home from work on Tuesday, and you stop to pick up a box on your way home. This box is full of 10 different kinds of vegetables and fruits, all grown within your area. You know which farms the produce comes from, that it’s all organic, picked when its ripe, in season, and extremely fresh. You know that you’re supporting a local farmer in your area that works tirelessly to provide their community with fresh produce. That in itself is a pretty powerful thing. 

Maybe you’re starting to understand why I’m passionate about buying from local farmers, but let me explain a few more reasons why:

  1. Local and seasonal foods generally have more complex flavors and higher nutrition content. Local produce is picked at peak ripeness, which allows the nutrients and flavor to develop more fully. Once a fruit or vegetable is picked, it slowly starts to lose nutritional value. When you buy locally, not very much time has passed between harvest and your table, meaning more of the nutrients are still in tact.

  2. When you buy locally, you are reducing the amount of energy it takes to store and transport your food. Imagine how much energy is used to power giant refrigerators and freezers and semi trucks.

  3. Buying from local, organic farms also means you aren’t consuming food with pesticides and herbicides. You are supporting your own health and the health of our planet.

  4. When you buy from local farmers and grocers, your money remains within your local economy. You are supporting the livelihood of people in your own community, and helping your community’s economy thrive.

  5. You will discover so many fruits and vegetables you never knew existed.

  6. So many people in our country don’t have access to fresh produce. If you have the resources and geographical location to do this, then hop on this train! I would encourage you to do your part to contribute to a more sustainable world and a stronger community.

farm cart organics

Supporting local farms is supporting your community, the environment, your own health, and preserves natural resources

LOCAL HARVEST is an AMAZING resource. At the top of the website you can search for farmer’s markets, co-ops, and CSA boxes in your area! A lot of areas don’t provide CSA boxes in the winter, but there’s usually a co-op or some other grocery store where you can get local produce.

Three things to look up in your area in order to find local and seasonal produce:

  • Co-ops

  • Farmer’s Markets

  • CSA boxes

Here’s a list of CSA boxes in a few areas that I know people that read my blog are from!

Grilled Salmon + Cassava Tostadas + Tomatillo Salsa

 
salmontacos-1-3.jpg
 

To be honest, I don’t follow recipes that often. Usually I get too excited about some new meal idea I have, or I’m making something for my blog, or I just don’t have time and throw together whatever I can at the end of the day (I think most of us fall into that last category). This time, however, was a little different. I saw Jodi’s (from What’s Cooking Good Looking) cassava flour tortillas topped with salmon and tomatillo salsa on instagram, and I was like, “Whoa. I need to make that.” They looked fun, light, flavorful, and super packed with nutrition. So, I saved the recipe, and next time I went to the store I made a list of all the ingredients I would need.

salmontacos-5.jpg

Fast forward a couple of days and I was cooking away in my little studio kitchen! I tried to document the process as I went, which makes recipes take about 3x as long, but I had fun the whole time :) I made a couple tweaks to Jodi’s recipe, and it all tasted UNREAL. Sid and I were totally blown away by how good the little tacos were, especially the cassava flour tortillas.

What is cassava, by the way? Cassava, also known as yucca root, is a root vegetable native to South America. It’s one of the main sources of carbohydrates for people in the tropics. Cassava can be ground into flour to be used for baking, and I believe it is one of the BEST flour alternatives. It’s rich in antioxidants (it contains a lot of vitamin C), it supports the immune system, it promotes skin and hair health, it’s easy to digest, it has a low glycemic index, and it may even relieve arthritis symptoms. It also contains a whole lot of vitamins and minerals, and it’s allergen-free :) Have I convinced you to buy some cassava flour yet?

Cassava flour is a little expensive, but it is way cheaper than buying already made cassava flour tortillas. I find a pretty good deal on it HERE.

Now go forth and make these wonderful little summer tacos! You won’t regret it :)

salmontacos-1-4.jpg
salmontacos-3-2.jpg
salmontacos-1.jpg
 
salmontacos-4.jpg
 

Grilled Salmon + Cassava Tostadas + Tomatillo Salsa

Servings: 10-12 tostadas

Ingredients

For the Salsa:

  • 6-8 tomatillos, husks removed and diced
  • 1 green pepper, diced
  • 1 jalapeño, (seeded if you don’t like it too spicy), diced
  • 1 red onion (about 1/2 cup when diced)
  • 2 cloves of garlic, minced
  • a drizzle of avocado oil (neutral oil)
  • a pinch of cumin
  • salt + pepper
  • a 1/2 lime, squeezed

For the Salmon:

  • 1 lb of wild salmon
  • salt + pepper
  • 2 cloves garlic
  • 1/2 tsp. each cumin & paprika
  • a drizzle of olive oil and a squeeze of lemon

For the Cassava Tostadas:

  • 1 cup cassava flour
  • 1/2 tsp. salt
  • 3 Tbs. olive oil
  • 3/4 c. water

Instructions

  • Make the salsa: Pre-heat the oven to 400F. Place the tomatillos, green pepper, jalapeño, red onion and garlic onto a sheet pan, drizzle with the oil, season with the salt, pepper and cumin. Roast for 15-20 minutes, until all of the veggies are soft, but not yet brown. Remove, transfer to a bowl, add a squeeze of lime, and set aside until you’re ready to serve. This can be made days in advance and stored in an airtight container in the fridge.
  • Roast the salmon: Lower the oven temp to 300F. Place the salmon skin side down onto a baking sheet, season with salt, pepper, and the additional seasoning (if you like). Drizzle with olive oil and squeeze some lemon juice over the top. Cook for 15-25 minutes, depending on how cooked you want your salmon. I prefer 15-18 minutes for medium rare, but if you like it more cooked then leave it in for longer. Remove and gently flake off pieces using a fork.
  • While the salmon is roasting, make the cassava tostadas: Place the flour and salt into a medium bowl and stir. Then add the olive oil, and add the warm water a tablespoon at a time until the mixture comes together into a dough that is sticky but not too wet. The amount of water may vary, but should be right around 1/2 cup. When the dough has formed, knead it 10 or so times, and then form the tostada rounds. Pinch off a golf ball sized amount, roll it between you palms, and press it to flatted it. Transfer to a parchment lined plate, and do this until all of the dough has been formed. Heat some ghee or oil in large cast iron over medium heat. Place a couple of the dough rounds into the pan, don't overcrowd, and cook for about 3 minutes on each side, until they are golden. Transfer to a plate, and get ready to top and serve.
  • To add the toppings, I like to start with the yogurt then add a few pieces of the flaked salmon, then some avocado and radish and finish with the salsa and chives. Enjoy!

Print Friendly and PDF

Chicken Burgers

chickenburgers-13.jpg

Sid and I are coming up on our two year anniversary next week! We’ve been married for almost two years, but we’ve only been in our own place together for about 7 months. We’ve lived with other people, lived in a van, and now we are finally settled in our own little apartment. I wouldn’t trade the experiences we had in our first 1.5 years of marriage, but I must say it is SO nice being able to create a little home and invite people in :) We actually feel like a married couple now! We’re finding our rhythm and having a ton of fun living together. I mean, we finally even created a legit budget so that we can start saving for some bigger dreams. Better late than never, right?

Part of our budget is minimizing the amount of money we spend eating out (obviously), so I’ve been batch cooking lunches for Sid so that he doesn’t have to buy lunch during his work day. Some of the meals I like to make are curry, a pasta dish of some sort, soup, wraps, and chicken salad. I decided to try something new last week and made chicken burgers!

They are juicy, tender, and oh so versatile :)

chickenburgers-2.jpg
chickenburgers.jpg

We grilled them on the back deck and they smelled AMAZING. The sun was setting, birds chirping, smoke coming off the grill, and it felt like one of the first true glimpses of summer.

We ate the chicken burgers, well, in burger form. Sid had his on fresh homemade sourdough, and I chose to eat mine on a butter lettuce wrap. You could also use them on salads or in a bowl with rice, roasted veggies, and sauce. The flavor of the burgers isn’t super strong, so you could easily add something like bbq sauce or chipotle sauce to make them even more flavorful. Just keep them in the fridge during the week, or store them in the freezer!

chickenburgers-6.jpg
 
chickenburgers-11.jpg
 

Chicken Burgers

Ali Beck | June 12, 2019

  • prep time: 10 min.
  • cook time: 10 min.
  • total time: 20 min.

Servings: 4

Ingredients:

  • 1 lb. organic ground chicken (or turkey)
  • 1 clove minced garlic
  • 1 tsp. garlic powder
  • 1 tsp. cumin
  • 1 tsp. paprika
  • 1 tsp. onion powder
  • 1/2 small onion, finely chopped
  • 2-3 mushrooms, finely chopped
  • 1/4 c. fresh herbs, chopped (I like basil & parsley)
  • 1/2 tsp. salt & pepper

Instructions:

  1. Wash and very finely chop the onion, mushrooms, and fresh herbs.
  2. Combine the ground chicken, chopped vegetables and herbs, and spices in a mixing bowl. Mix with a large wooden spoon or your hands until well combined.
  3. Divide the mixture into four separate patties and flatten each patty to be 1/4-1/2 inch thick.
  4. Barbecue on the grill for 5-7 minutes each side, or cook in a cast iron skillet on the stove for 10-12 minutes each side.

Print Friendly and PDF

Chickpea "Tuna"

chickpea tuna

Chickpea “Tuna”

Serves: 2

Time: 5 min.

Ingredients:

  • 1 can of chickpeas

  • 1 Tbs. mayo

  • 1 tsp. lemon juice

  • salt & pepper to taste

Instructions:

  1. Mash up the chickpeas with a fork. Add the mayo, lemon, juice, salt and pepper and mix it all together. I also love adding chopped apples and celery, as well as chopped fresh herbs (basil, dill, or parsley). You can put it on a sandwich, a wrap, or on a salad!

 
chickpea tuna
 

Chocolate Peanut Butter Smoothie

chocolate peanut butter smoothie

I’ve been drinking this smoothie every other day for about a week now. I can’t get over how good it is! It’s smooth, creamy, and PERFECTLY sweet. It feels like I’m eating dessert, but there’s so much goodness in it. I’ve switched it up by using different types of milk and nut butters. It tastes great with cashew or almond butter as well. You can also add frozen cauliflower or frozen avocado for even more creaminess! I hope you enjoy modifying this smoothie to fit your taste :)

Chocolate Peanut Butter Smoothie

Serves: 1

Time: 3 min.

Ingredients:

  • 1/2 frozen banana

  • 2 dates

  • 2 Tbs. peanut butter

  • 1 Tbs. cocoa powder

  • 3/4 c. almond milk (or other milk)

  • 2 c. ice

  • 2 scoops collagen peptides (optional)

Instructions:

  1. Put all the ingredients in a blender, and blend until smooth and creamy. Add granola, chia seeds, hemp seeds, or shredded coconut to the top. Yum!

Quick Lentil Curry

Quick, Healthy, Budget-Friendly-9.jpg

It’s warm, flavorful, and just the right amount of spicy (coming from someone who doesn’t handle spice very well). This recipe can be served with brown rice, quinoa, or with naan. I also added a spoonful of plain whole milk Greek yogurt to balance out the rich flavor of the curry. I hope you enjoy this quick, healthy, and budget-friendly meal!

 
Quick, Healthy, Budget-Friendly-8.jpg
 

Quick Lentil Curry

Serves: 4

Time: 15 min.

Ingredients:

  • 1 onion (.50)

  • 2 cloves garlic (.15)

  • 1.5 Tbs. curry powder (.50)

  • 1 can tomato paste (.50)

  • 1 can full fat coconut milk (2.99)

  • 1 cup cooked lentils (you can buy pre-cooked from TJ’s) (.69)

  • 2 cups spinach (1.00)

  • 1/2 lime, juiced (.50)

  • 1/2 tsp. salt (.05)

Instructions:

  1. If the lentils aren’t already cooked, begin by boiling 3 cups water or broth. Once boiling, add the lentils, then cover and simmer until tender (about 15 minutes).

  2. Wash the onion and chop into small pieces. Peel and mince the garlic cloves. Heat 1 Tbs. oil in a cast iron pan over medium-low heat.

  3. Sauté the onion until translucent, then add the minced garlic. After another 5 minutes, add the tomato paste and curry powder. Stir until evenly distributed.

  4. Add the coconut milk, cooked lentils, spinach, lime juice, and salt. Let everything simmer for 5-10 minutes.

  5. Serve with rice, quinoa, or naan. Garnish with chopped parsley and plain yogurt.

Quick, Healthy, Budget-Friendly-11.jpg